Dream Grove Quest
Name: Dream Grove Quest.
Location: Dream Labyrinth.
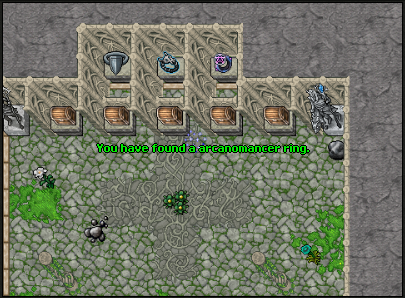
Reward: Spiritthorn Ring or Ring of Souls or Arcanomancer Ring, 10 Crystal Coins, 5 Diamonds, a Glacier Robe, a Glacier Amulet, Lilypad Backpack and Hive Bow.
Requirements: level 250, at least 3 players, Gnomulus Research Quest, Bribe Dragon Quest, Anvers Island Quest, Dream Labyrinth Quest.
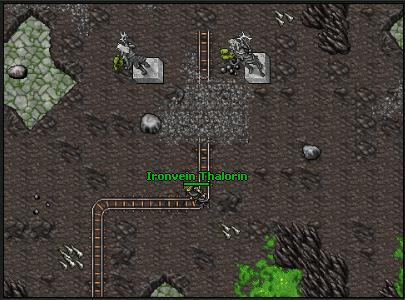
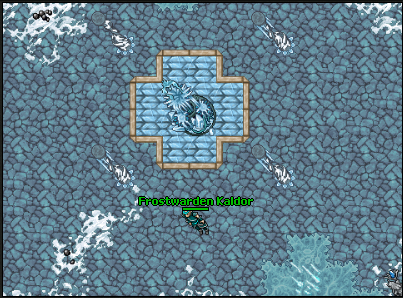
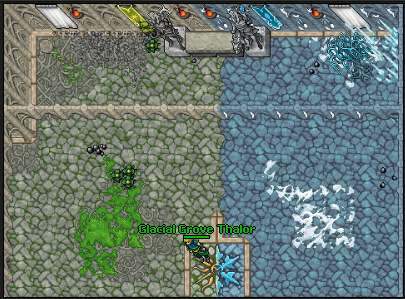
Monsters: Crazed Summer Rearguard, Crazed Summer Rearguard, Insane Siren, Winter Elf, Winter Elf Fencer, Winter Elf Harbinger, Terrorsleep, Frozemoth, Feversleep, Spectre, Elventhrower, Ice Elventhrower, Elf Miner, Shadowstalker, Grim Reaper, Behemoth, Tarbeast, Hellflayer, Hydra, Chopper, Fleshslicer, Rotspit, Juggernaut, Maw, Iceblade Lorithil, Winterheart Selendrial, Blizzard King Thalorin, Frostwarden Eryndor, Verdantlord Syltharion, Flamewarden Pyralis, Ironvein Thalorin, Frostwarden Kaldor, Glacial Grove Thalor.
Spoiler:
Required items
 Rope or equivalent
 Pick
Pick Destroy Field Rune
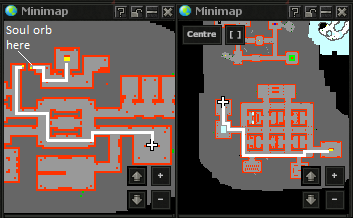
 Soul Orb
 Mechanical Fishing Rod
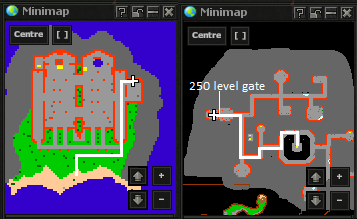
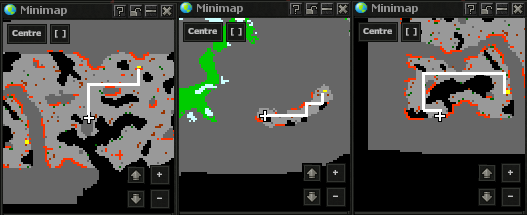
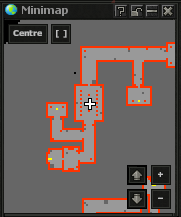
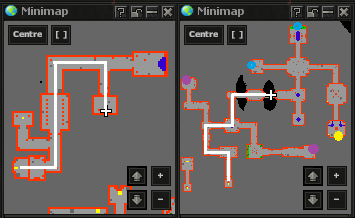
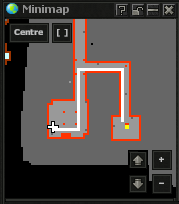
- Once we have completed the other necessary quests, we head to the Dream Labyrinth to NPC Eldarion, following the map below:
Conversation:
| Player: | Hi |
| Eldarion: | Greetings, Player. Welcome to the Dream Labyrinth. |
| Player: | pass |
| Eldarion: | Only those who demonstrate exceptional worth may cross the threshold of the Dream Grove ... To prove your worthiness, you must bring me an Astral Shaper Rune ... Return when you have acquired this powerful artifact. |
Conversation:
| Player: | Hi |
| Lailene: | What do you want in my magical robe store? I doubt I have anything that's of interest to you. |
| Player: | astral shaper rune |
| Lailene: | Oh, the astral shaper rune, a rare and powerful artifact. I can tell you how to obtain it, but first, I'll need your help. |
| Player: | mission |
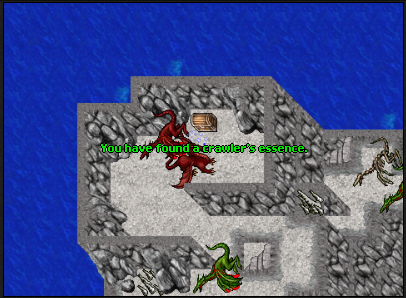
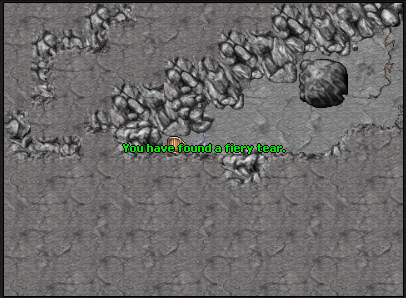
| Lailene: | I need a few rare items for my experiments. If you bring them to me, I'll tell you everything I know about the astral shaper rune ... An iced soil, which you can find in the dungeons on Folda, near the minotaur cave ... A sample of sand wasp honey, last seen with someone entering the dungeons of Jakundaf Desert, who likely got lost there ... A demonic finger, which can probably be obtained in the Hellflayer hell in Frozanver ... A smoking coal, which I've only heard is located somewhere deep in the Warzone Area ... A haunted mirror piece, located in Frostholm, held by the undead heroes there ... An ensouled essence, found deep within the Demon guarded by Warlocks ... A crawler's essence, which you should find somewhere on Draconia, guarded by the local Dragons ... A fiery tear, the last artifact, which I've only heard is somewhere on Fermur. Do you accept my task? |
| Player: | yes |
| Lailene: | Great, then set off and do your best to obtain all the artifacts. |
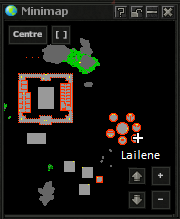
- Lailene tasks us with delivering several artifacts such as: Iced Soil, Sample of Sand Wasp Honey, Demonic Finger, Smoking Coal, Haunted Mirror Piece, Ensouled Essence, Crawler's Essence, and Fiery Tear in exchange for creating the Astral Shaper Rune. To do this, we follow the maps below:
Note! The items must be obtained on your own, purchasing them in the store does not allow you to complete this quest.
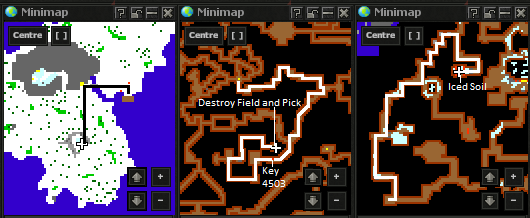
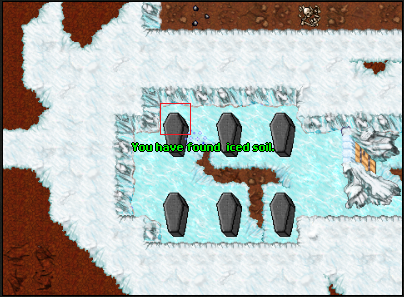
- The order of obtaining them does not matter, in this guide, we will start with Iced Soil. To obtain it, we head to the underground on Folda, get the Key 4503, use Destroy Field then Pick, and go down. To return, we are getting Key 4502 and pass through the minotaur cave.
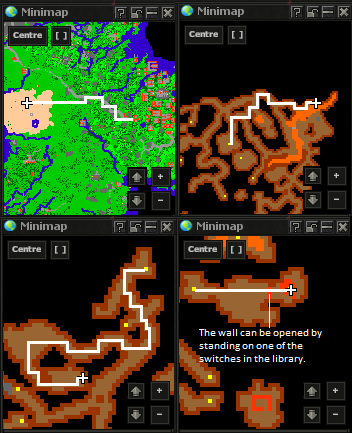
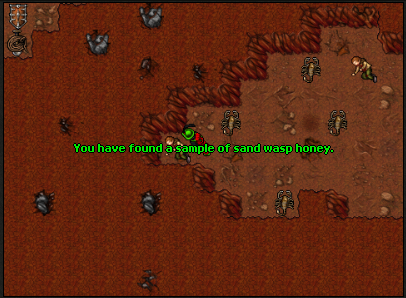
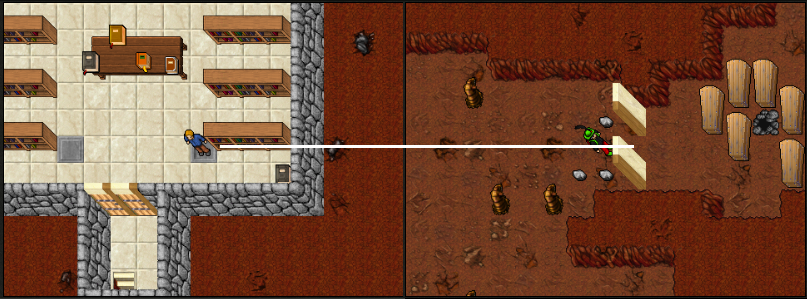
- To obtain this item, we head to the Jakundaf Desert from Venore. You'll need two people for this task: one goes to the Library to stand on the lever that opens the wall, while the other take the honey, then you switch tasks. Refer to the maps for detailed instructions on how to do this.
- Way for the Honey:
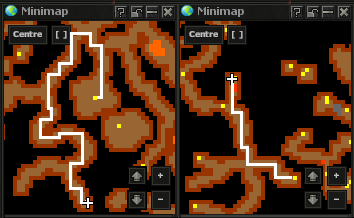
- Way to the Library. Firstly, we need to obtain Key 4009 and then follow the maps below:
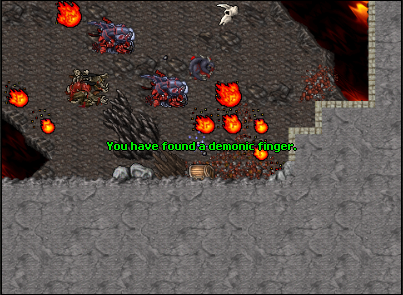
- In this case, we head to Hellflayers Frozanver and follow the map below:
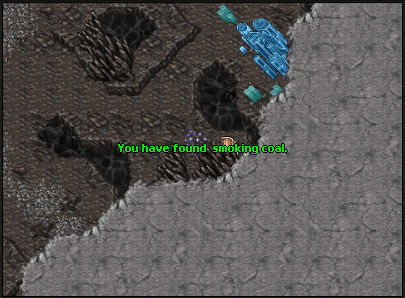
- The coal is located in the boss room in a chest in Warzone 5.
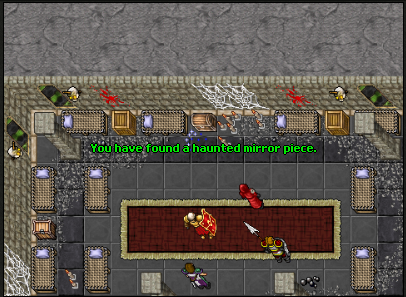
- The mirror is located in the Hero Cave Elvers. To obtain this item, we head there and follow the map below:
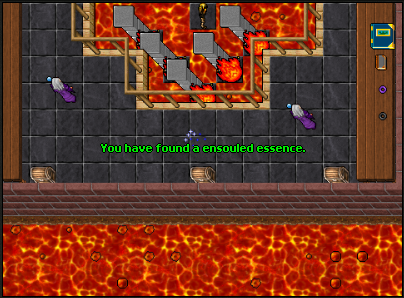
- To obtain this essence, we head to the Warlocks Demona and follow the map below:
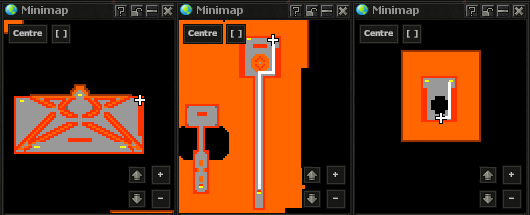
- This item is located at the top of the dragon tower An Old Dragonlord. The map in the Dragonfetish Quest will help us reach it. We don't need to bring a White Mushroom with us.
- For the last item in this group, we head to Fermur, specifically to the respawn area of Choking Fears and Retching Horrors.
- Once we have obtained all the items, we return to NPC Lailene.
Conversation:
| Player: | hi |
| Lailene: | What do you want in my magical robe store? I doubt I have anything that's of interest to you. |
| Player: | iced soil |
| Lailene: | Oh, iced soil! This is a rare and valuable material. Perfectly preserved, thank you. Now, bring me the next item. |
| Player: | sample of sand wasp honey |
| Lailene: | Ah, sand wasp honey! Sweet but dangerous! I'll use this to strengthen my elixirs. Which item will you deliver next? |
| Player: | demonic finger |
| Lailene: | The demonic finger, be careful not to let it harm you. I need it for a ritual of courage. What else do you have for me? |
| Player: | smoking coal |
| Lailene: | Smoking coal, it smolders with mysterious energy. Perfect for my magical experiments. What other treasures have you managed to find? |
| Player: | haunted mirror piece |
| Lailene: | Haunted mirror piece, it reflects more than just light. This will be crucial for my mirror spell. What other items have you brought? |
| Player: | ensouled essence |
| Lailene: | Haunted mirror piece, it reflects more than just light. This will be crucial for my mirror spell. What other items have you brought? |
| Player: | crawler's essence |
| Lailene: | Crawler's essence, full of mysterious energies. This is a perfect ingredient for my transformation elixir. What is your next step? |
| Player: | fiery tear |
| Lailene: | Fiery tear, a drop of fiery power. This is the last element I needed. Now that I have everything, I can start telling you about the astral shaper rune. |
| Player: | mission |
| Lailene: | I see you've managed to gather all the necessary items. Excellent! |
| Player: | astral shaper rune |
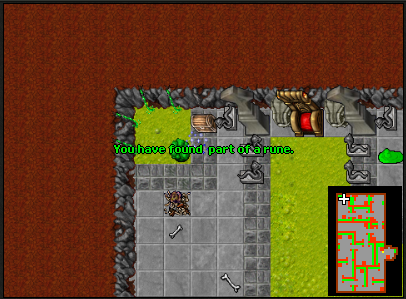
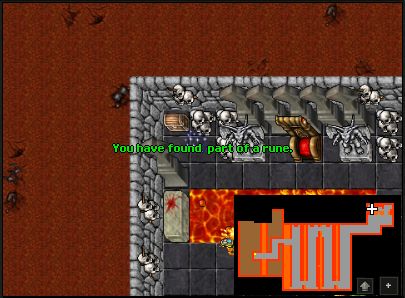
| Lailene: | To obtain the astral shaper rune, you must first collect the pieces of this rune, which are scattered in chests in several seals in the Pits of Inferno ... There are a total of six pieces ... Once you have them, bring them to me, and I will assemble the entire rune for you. |
- Now we need to go to the Pits of Inferno Quest again. However, if we have previously completed this quest and obtained the items, we can skip this part of the quest.
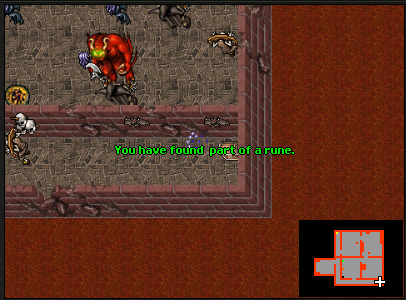
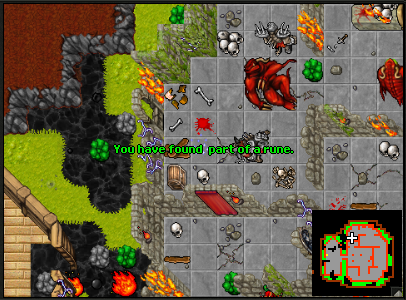
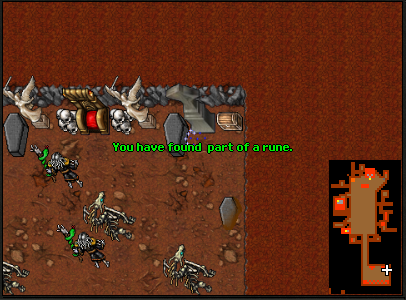
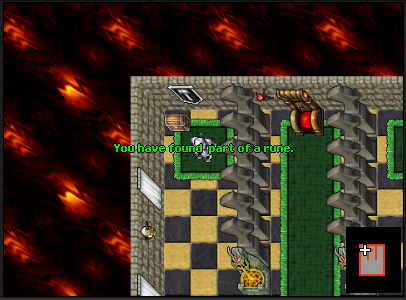
- The Astral Shaper Rune consists of 6 parts that we need to obtain, and they are scattered across most of the seals in the Pits of Inferno. The order in which we collect them does not matter:
Verminor's throne room:
Infernatil's throne room:
Tafariel's throne room:
Apocalypse throne room:
Ashphalor's throne room:
Bazir's throne room:
- Once we have obtained all the rune parts, we return to NPC Lailene.
Conversation:
| Player: | hi |
| Lailene: | What do you want in my magical robe store? I doubt I have anything that's of interest to you. |
| Player: | parts |
| Lailene: | Now I will complete the astral shaper rune. I need one day to finish this task. Come back tomorrow. |
| Player: | bye |
| Lailene: | See ya, Player. |
- At this point, we need to take a break because we have to wait until the next server save.
- We return after the break and write:
Conversation:
| Player: | hi |
| Lailene: | What do you want in my magical robe store? I doubt I have anything that's of interest to you. |
| Player: | astral shaper rune |
| Lailene: | Here is your astral shaper rune. Use it wisely and carefully. Good luck in your adventures! |
| Player: | bye |
| Lailene: | See ya, Player. |
- We can now head to the Dream Labyrinth to NPC Eldarion and give him the Astral Shaper Rune to gain access to the Dream Grove underground for the continuation of the quest.
Conversation:
| Player: | hi |
| Eldarion: | Greetings, Player. Welcome to the Dream Labyrinth. |
| Player: | astral shaper rune |
| Eldarion: | That is indeed a powerful artifact ... Are you ready to give it up to cross the threshold of the Dream Grove? |
| Player: | yes |
| Eldarion: | If you give up the astral shaper rune, I will open the gates of the Dream Grove for you ... But remember, this place is sacred and demands respect ... Are you sure of your decision? |
| Player: | yes |
| Eldarion: | By giving up this artifact, you confirm your right to enter the Dream Grove ... The passage is now open for you ... Remember to respect this land and its secrets. |
| Player: | seal |
| Eldarion: | Access to the seals is not given lightly, traveler. Only those who prove their worthiness may pass ... There is a rare and magical item called the colourful water lily. It can be found beyond the chamber of elven stones, in the enchanted waters ... Bring the colourful water lily to me. Its essence is deeply connected to the magic of the grove. By offering it, you show your dedication and respect for this sacred land. |
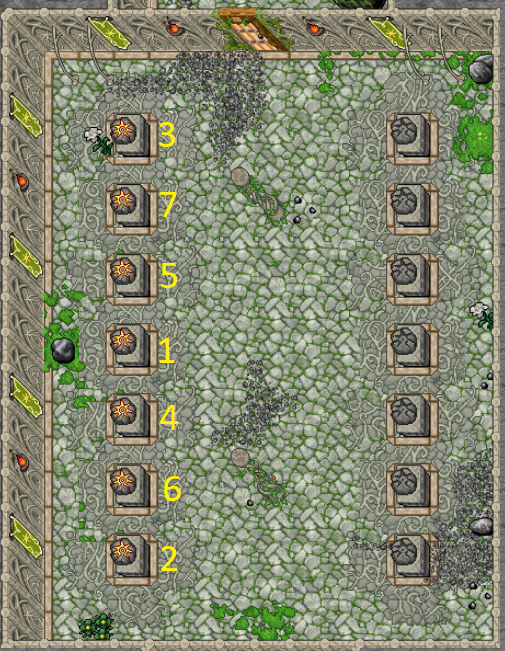
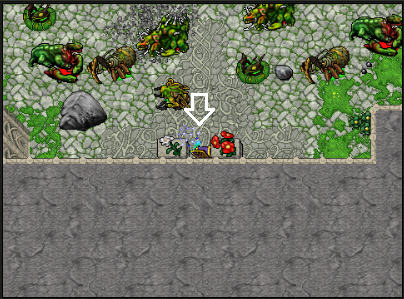
- Now we go down to the room with the elven stone stars and click on the stars in the order shown in the picture, starting from 1.
- If we make a mistake, we need to go to Eldarion and pay him 100.000 gold to unlock the puzzle again. Here is the conversation in case of a failed attempt:
Conversation:
| Player: | hi |
| Eldarion: | Greetings, Player. Welcome to the Dream Labyrinth. |
| Player: | order |
| Eldarion: | You failed to solve the first problem, which required changing the stones in the correct order ... Fortunately, I can help you and lift the curse so the stones remain favorable to you, but it will cost 100.000 gold ... Do you agree to these terms? |
| Player: | yes |
| Eldarion: | Very well, the curse on the stones has been lifted. You may now continue your quest. |
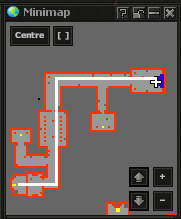
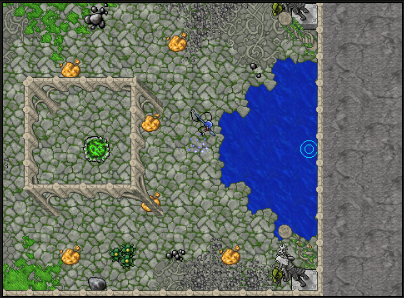
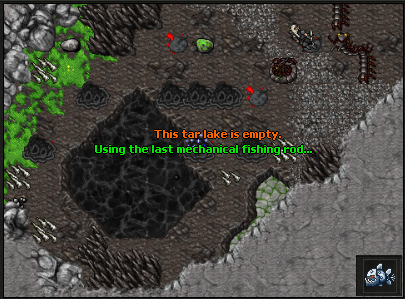
- Now we go down to obtain the Colourful Water Lily. Follow the map and keep fishing using Mechanical Fishing Rod in this lake until you catch it.
- When we have fished the Lily, we return to Eldarion and say.
Conversation:
| Player: | hi |
| Eldarion: | Greetings, Player. Welcome to the Dream Labyrinth. |
| Player: | lily |
| Eldarion: | Ah, the colourful water lily! You have proven your dedication and respect for the grove by bringing me this rare and magical item ... By offering this lily, you have shown your worthiness. The essence of this flower is deeply connected to the magic of the grove ... As promised, I shall now grant you access to all the seals in the next part of your quest. Use this privilege wisely, and remember the sacredness of this land. |
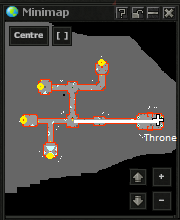
- From now on, we have access to four different seals, each of which has a throne at the end that we need to stand on to complete the seal. The order in which we complete them does not matter. Let's head to the nearest one first:
Seal of Verdant Growth:
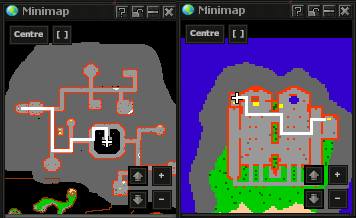
- To start, two people need to stand on the stand switches at the two locations marked with purple dots to open the bridge. Once the bridge is open, the rest of the team crosses it.
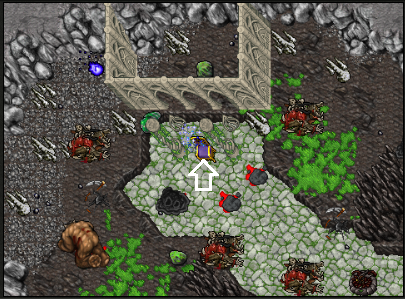
- The next task is to pull the two levers marked with blue dots to open the blocking walls leading to the throne, which is marked with a yellow dot. Stand on the throne and then return. Remember that there must be no monsters in the room except for the Elventhrowers!
Seal of Eternal Flames:
- Our next task is to find several books for NPC Ignarion. To do this, we head to him.
Conversation:
| Player: | hi |
| Ignarion: | Greetings, Player. Welcome to the Hall of Flames. |
| Player: | mission |
| Ignarion: | Ah, I see you have come for the Seal of Eternal Flames and to use the throne. Your quest is indeed of great importance ... Very well. I can grant you access, but first, I require something in return ... There is a 'sinister book' that I need ... It is hidden somewhere along the path to the seal, but I have forgotten its exact location. You must find it for me. |
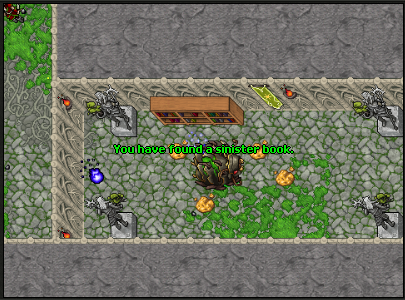
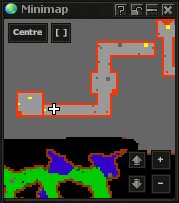
- We go down the stairs and look for the first book, which is the Sinister Book.
- We take the book from the bookcase and return to Ignarion.
Conversation:
| Player: | hi |
| Ignarion: | Greetings, Player. Welcome to the Hall of Flames. |
| Player: | sinister book |
| Ignarion: | Excellent work, Player. With this book, I can now open the passage to the Seal of Eternal Flames for you ... However, to gain access to the throne itself, you must bring me two more books: the 'Ominous Book' and the 'Knowledgeable Book'. |
| Player: | mission |
| Ignarion: | The 'ominous book' and the 'knowledgeable book' are both hidden somewhere within this realm ... I do not know their exact locations, so you will need to search diligently ... Only when you have brought me both books will I allow you to approach the throne. |
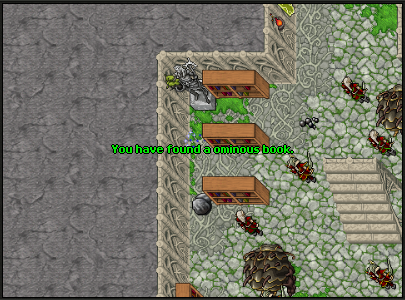
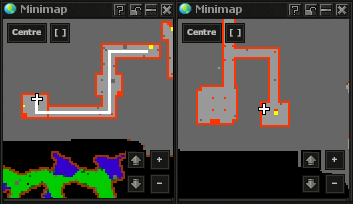
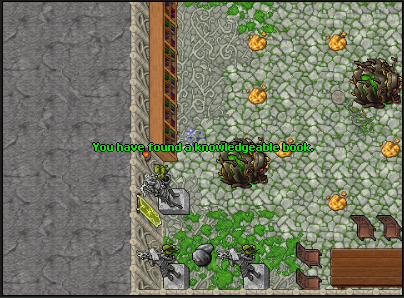
- Now we go deeper into this seal to obtain the Ominous Book and the Knowledgeable Book. Once we have them, we return to the NPC.
Conversation:
| Player: | hi |
| Ignarion: | Greetings, Player. Welcome to the Hall of Flames. |
| Player: | ominous book |
| Ignarion: | Well done, Player ... The ominous book is indeed a valuable find ... You are one step closer to accessing the throne ... Now, you must find the last book, the 'Knowledgeable Book' ... Bring it to me, and you will have earned the right to approach the throne. |
| Player: | knowledgeable book |
| Ignarion: | Fantastic work, Player! With both the ominous book and the knowledgeable book, you have proven your dedication and resourcefulness ... I will now grant you access to the throne ... Go forth and take your place at the throne, Player ... May the power of the Seal of Eternal Flames aid you in your quest ... Remember, respect the throne and its ancient magic. |
- From now on, we can head to the throne located south of the room where we obtained the last two books.
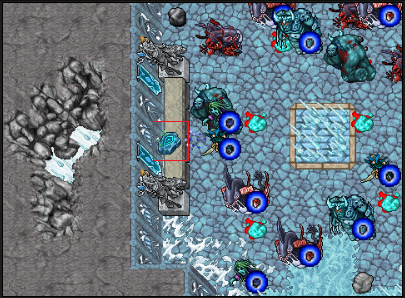
- Remember that there must be no monsters in the room except for the Elventhrowers!
Seal of Frozen Eternity:
- Following the map, on the first level, we need to obtain four items: The Frozen Heart, The Icicle, The Frozen Claw, and The Frozen Crown, which drop from four bosses. Afterwards, we need to place these items on the counter and pull the lever to open the southern wall.
- On this level, we need to click on the 4 Elfin Runes marked in yellow on the map below. Once we do this, we will be able to enter the room with the throne. However, be cautious, as clicking a rune will spawn: 2 Frozemoths, 2 Spectres, 3 Winter Elf Harbingers, 2 Terrorsleeps, and 2 Feversleeps.
- Remember that there must be no monsters in the room except for the Elventhrowers!
Seal of the Deep Veins:
- Now we head to the final mining throne:
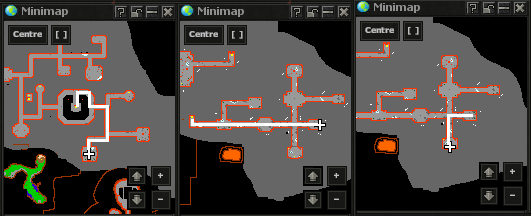
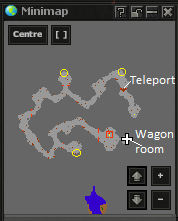
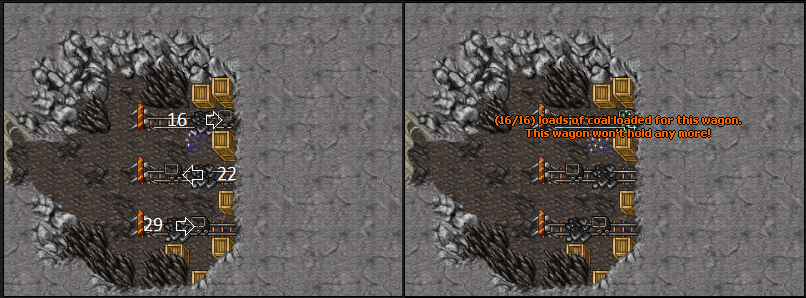
- Take the Dream Labyrinth Quest and go down (It is required to pass through the gate below). To the right is the wagon room where we need to load (use with) 3 wagons with different amounts of coal: the top wagon with 16, the middle wagon with 22, and the bottom wagon with 27, for a total of 65. The quests marked in yellow each contain 20 coals (20 * 3 = 60), and the remaining 5 need to be found in the nearby crates.
- Note:
- If you load a wagon with more coal than needed, you may lose the ability to load the other wagons, so it's crucial to measure the exact amount!
- Each person on the team must complete this mission, otherwise they will not be able to use the teleportation wagon further.
- If we have loaded all 3 wagons, we can proceed further. The teleport is the wagon at the end of the map, which we need to click on.
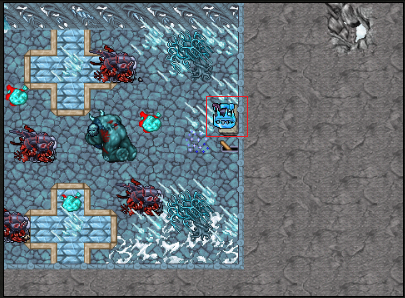
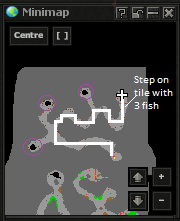
- On the next floor, we need to obtain 3 Mechanical Fish. To do this, we use the Mechanical Fishing Rod on the tar in the places marked in purple until we catch them.
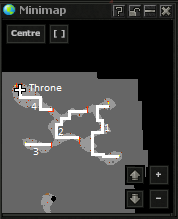
- In the final room, we follow the map stright to the throne.
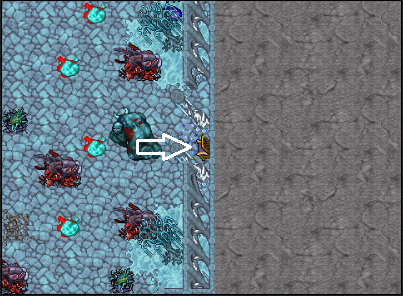
- Remember that there must be no monsters in the room in order to take the throne!
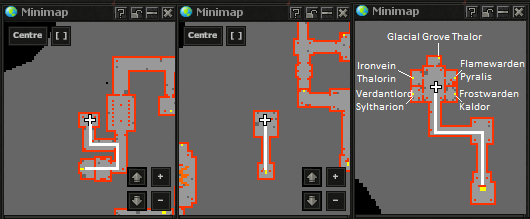
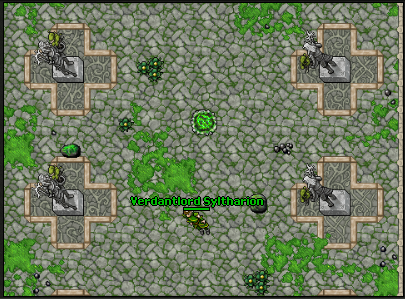
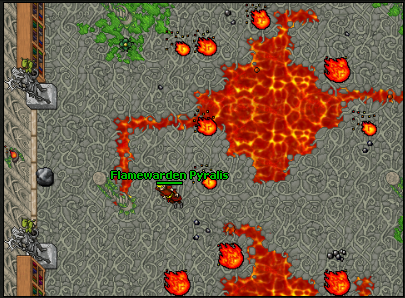
- Now we return to place with NPC Eldarion and follow the map to the boss rooms. If we have claimed all four thrones, we will be able to face 4 bosses and the final 5 boss. After defeating the final boss, we will be teleported to the reward room and completing the quest.
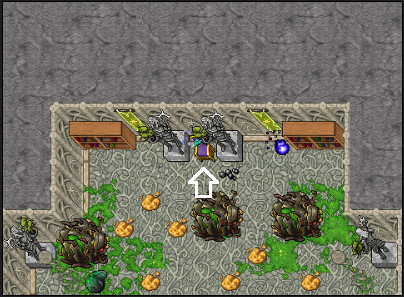
- After killing the final boss, we will be teleported to the reward room:
